

Preparations
Install Arduino IDE
Before you can control the world around you, you need to install and set up the software for programming your board.
Choose the correct installation file from the Arduino webseite and download it.
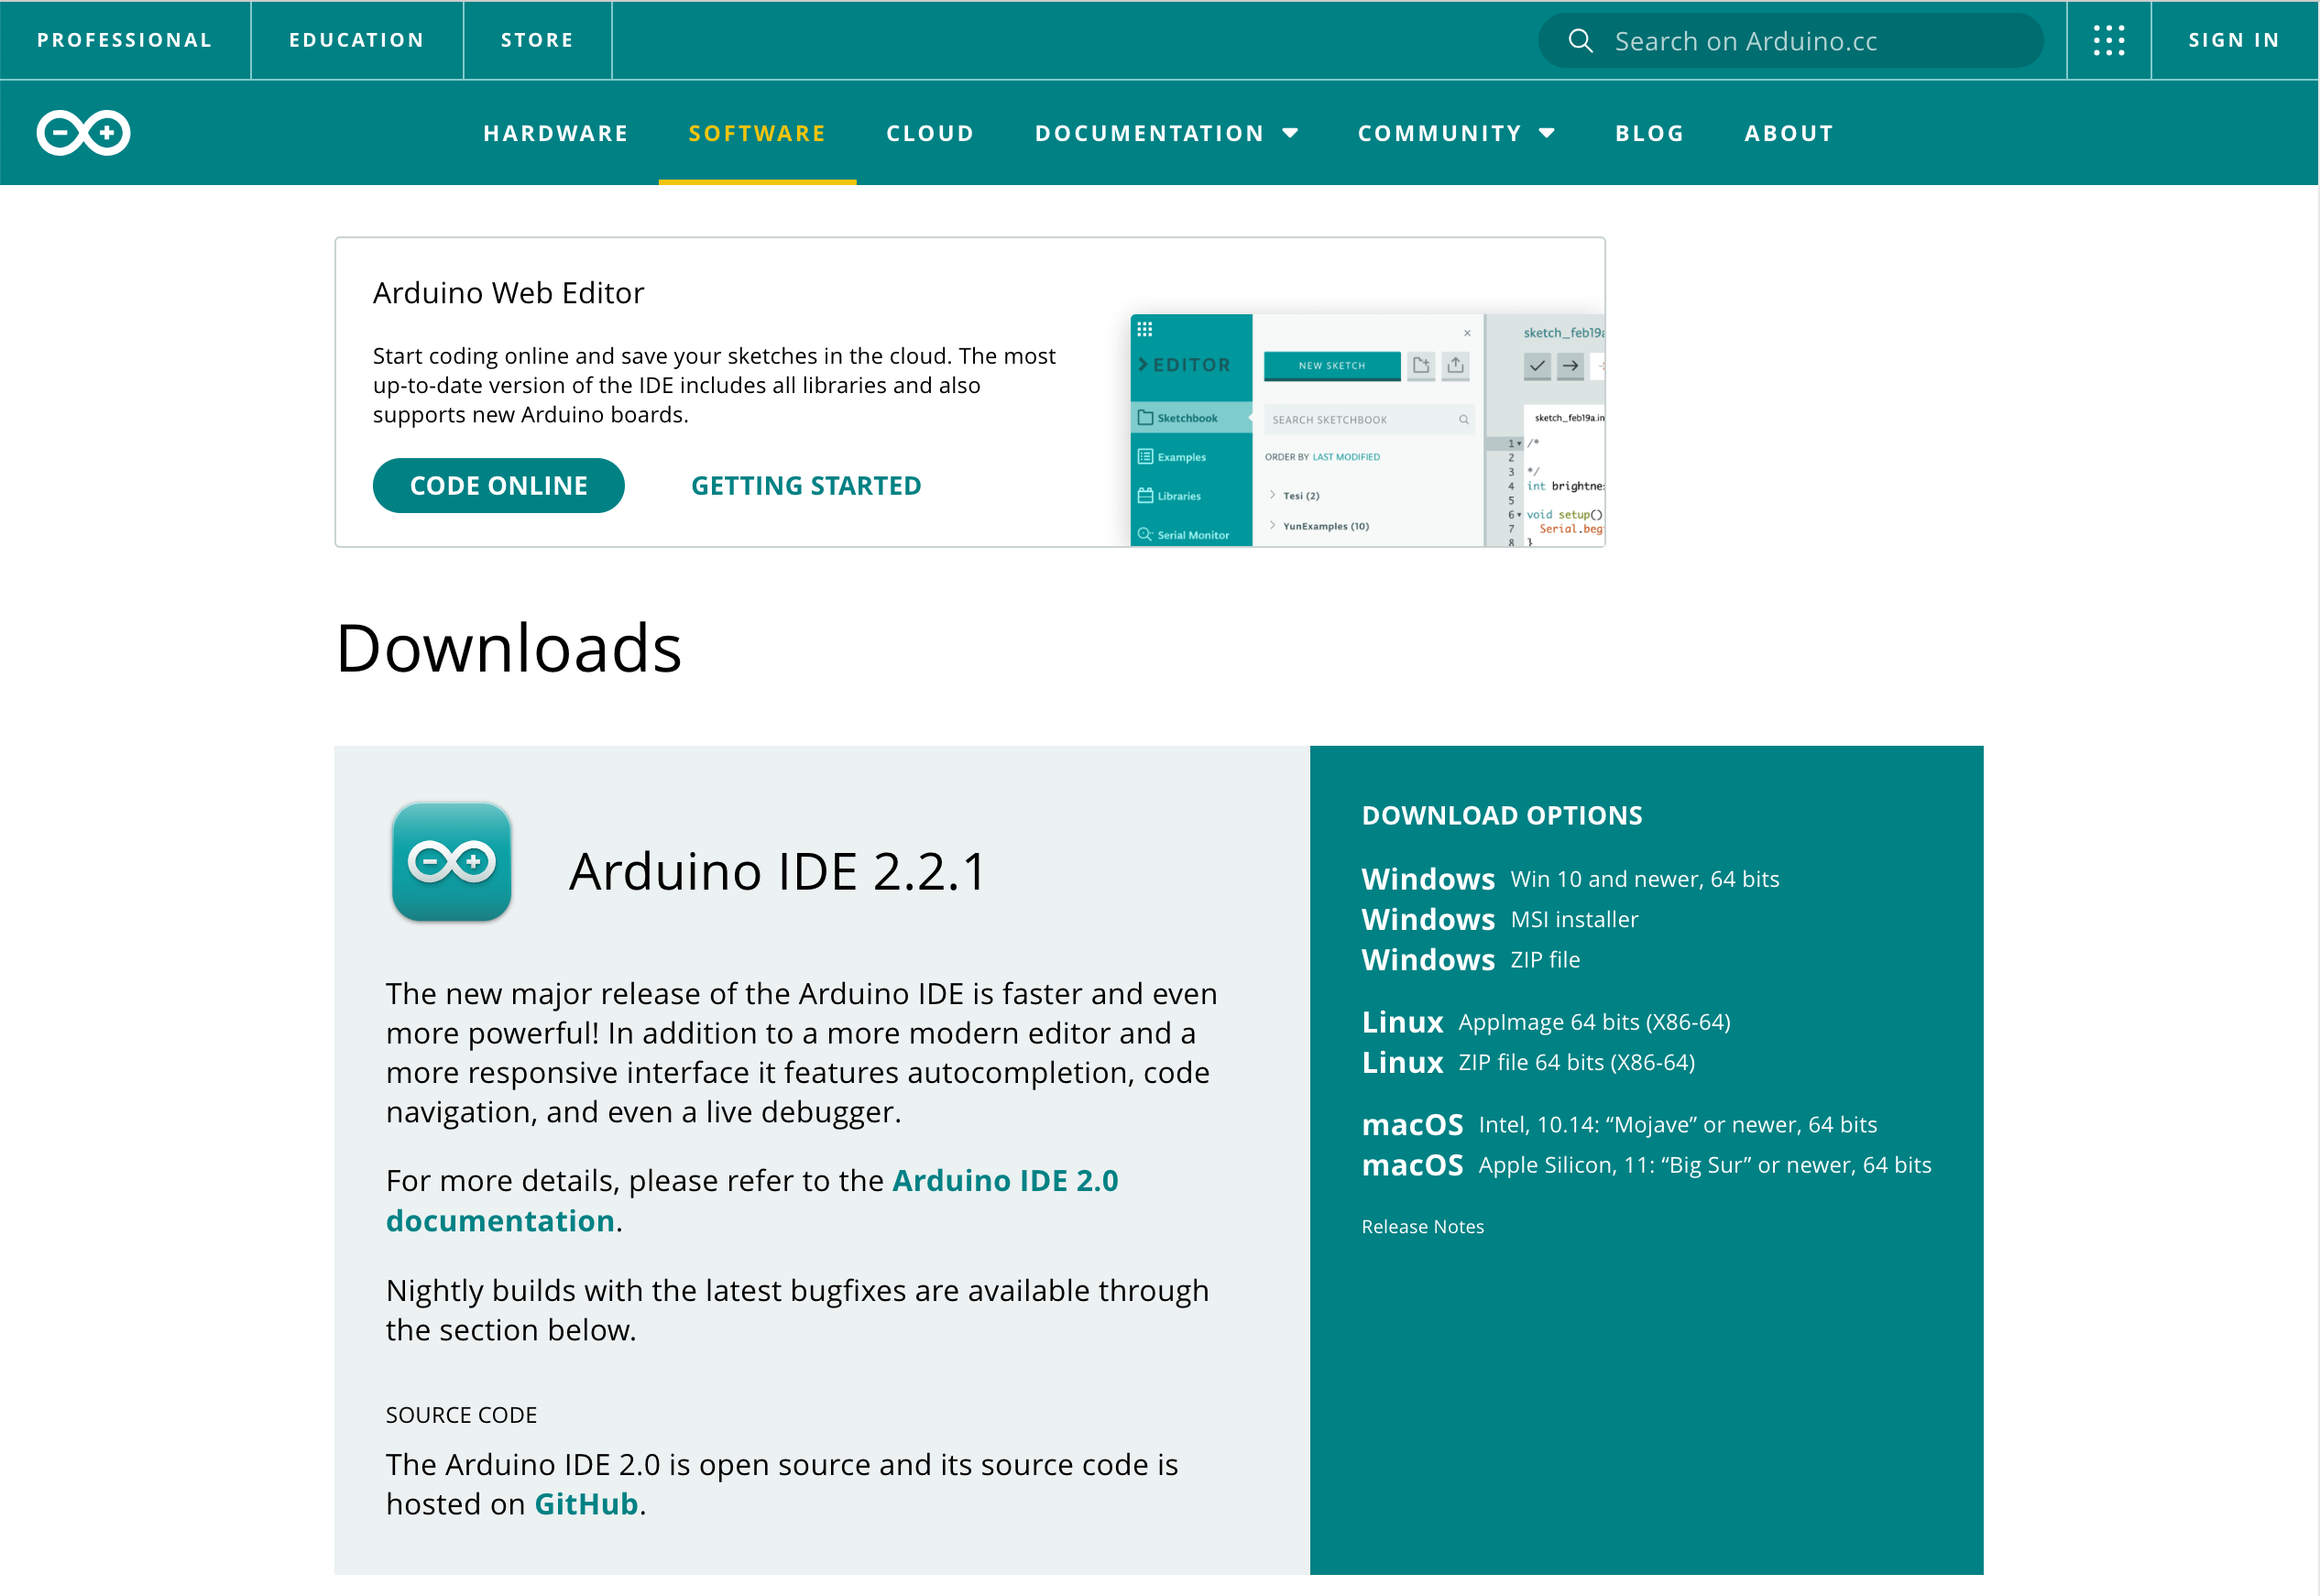
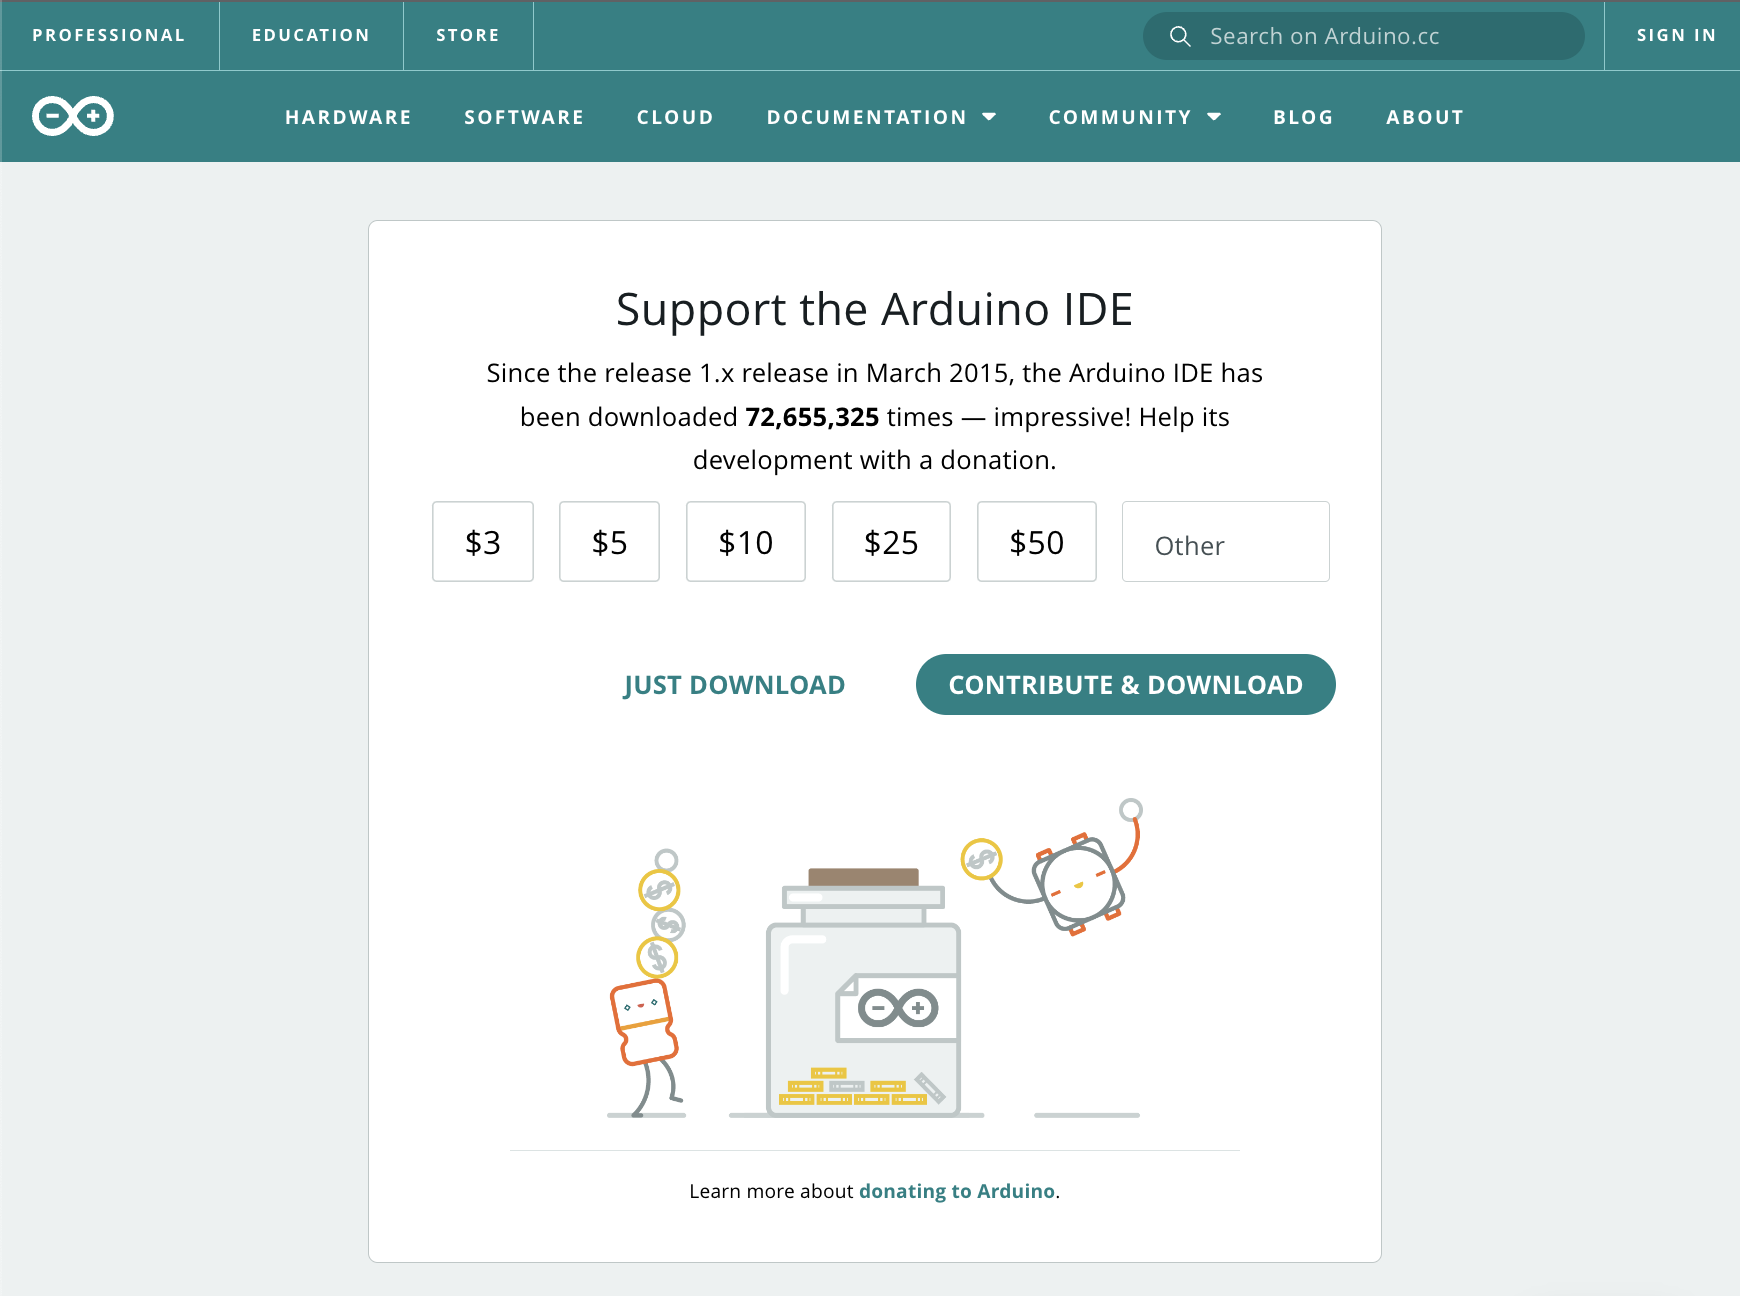
In order to start the free download you need to select “Just download” on the website.
IDE installation: Windows
After downloading the file and running the .exe file, you will need to select the location where the program should be installed and then accept the license agreement.
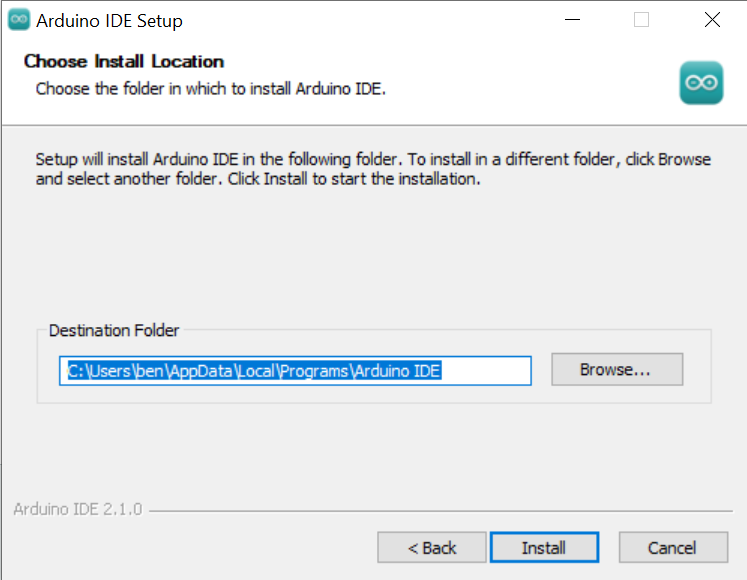
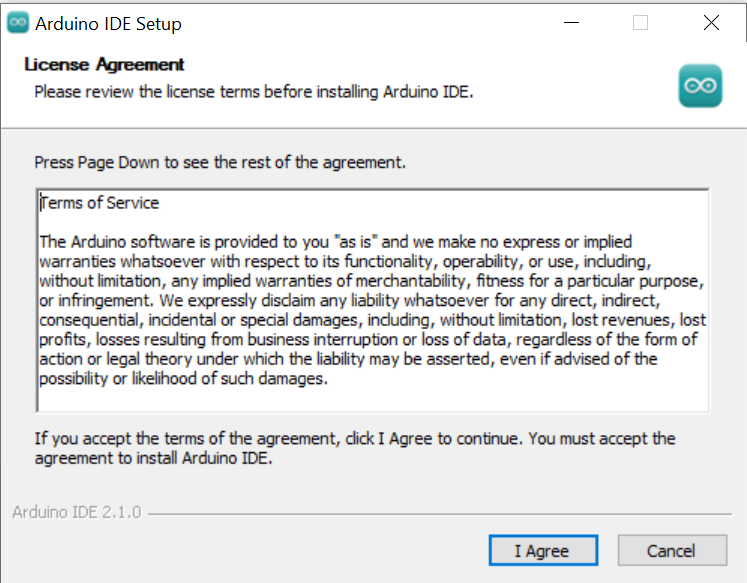
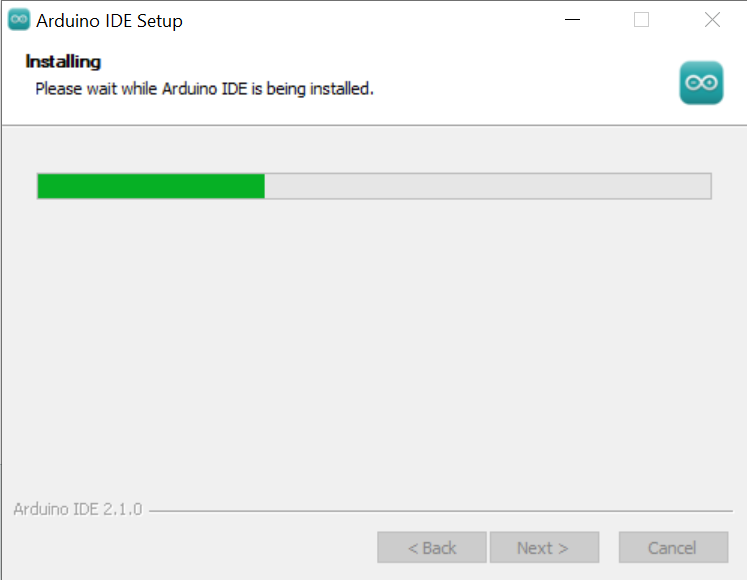
After that, the installation should begin.
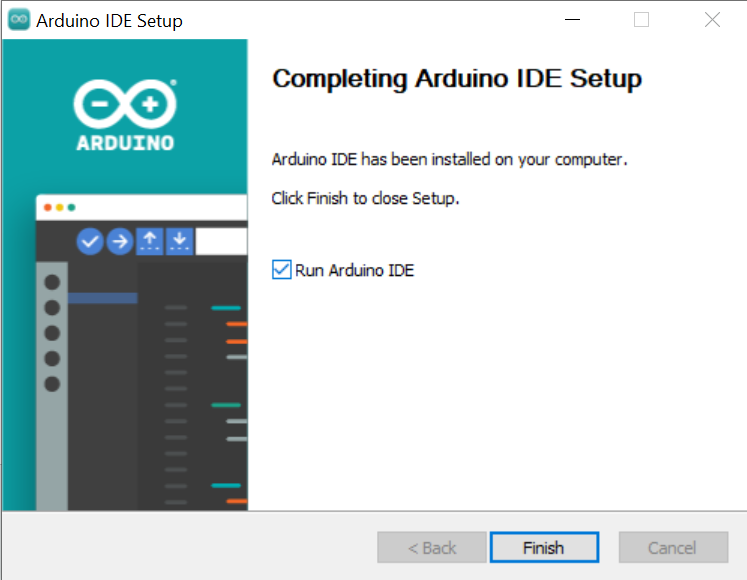
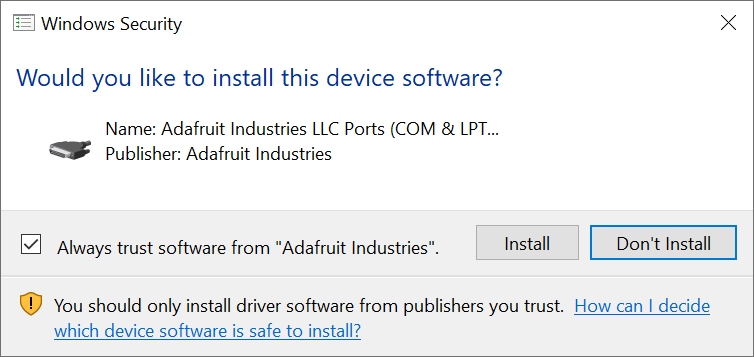
When the program starts, two more dialogs will appear. Allow the installation of the devices.

IDE installation: Mac
After downloading the file and double-clicking on the .dmg file, a window will open.

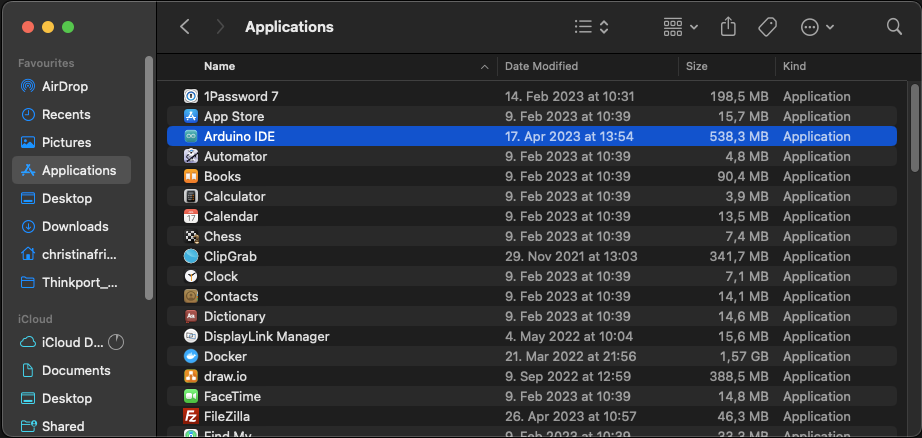
To do this, drag the “Arduino IDE” icon onto the “Applications” icon on the right. The program will be automatically copied to the Applications folder. Then you can close this pop-up window.
Next, go to the “Finder” and open the “Arduino IDE” by double-clicking on it under “Applications”.
Then a security prompt will appear, which you can confirm, and afterwards the Arduino IDE will open.
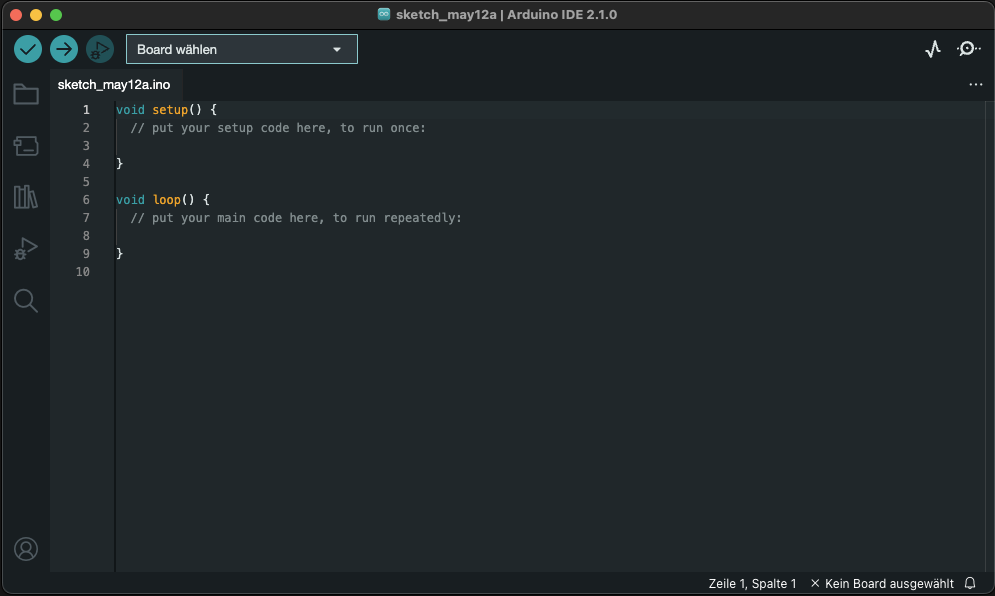
Yayyy 🦄 - The Arduino app is installed! Now you can familiarize yourself with its interface. Please note that the colors of the editor in our screenshots may differ from yours.
Set up the microcontroller
To enable communication between the Arduino IDE and the microcontroller (also referred to as the board), a board manager URL needs to be entered and the corresponding board definitions (NodeMCU) need to be installed. In our case, the microcontroller is the ESP8266 board.
The board manager URL is as follows:
http://arduino.esp8266.com/stable/package_esp8266com_index.jsonIf you use an ESP32 boards, the URL is:
https://raw.githubusercontent.com/espressif/arduino-esp32/gh-pages/package_esp32_index.jsonSettings: Windows
You can find the settings under File > Preferences:

Settings: Mac
Under “Arduino IDE” in the menu bar, you will find “Preferences,” and then the following window will open. Here, you can enter the Board Manager URL at the bottom and click “OK” to confirm. Additionally, you can customize the font size, color, language, etc. of your Arduino IDE if you like.

After adding the Board Manager URL, you are able to install the corresponding board definitions for your board.
Board manager: Windows
Then open the Board Manager dialog by selecting “Tools” -> “Board: […]” -> “Board Manager”.
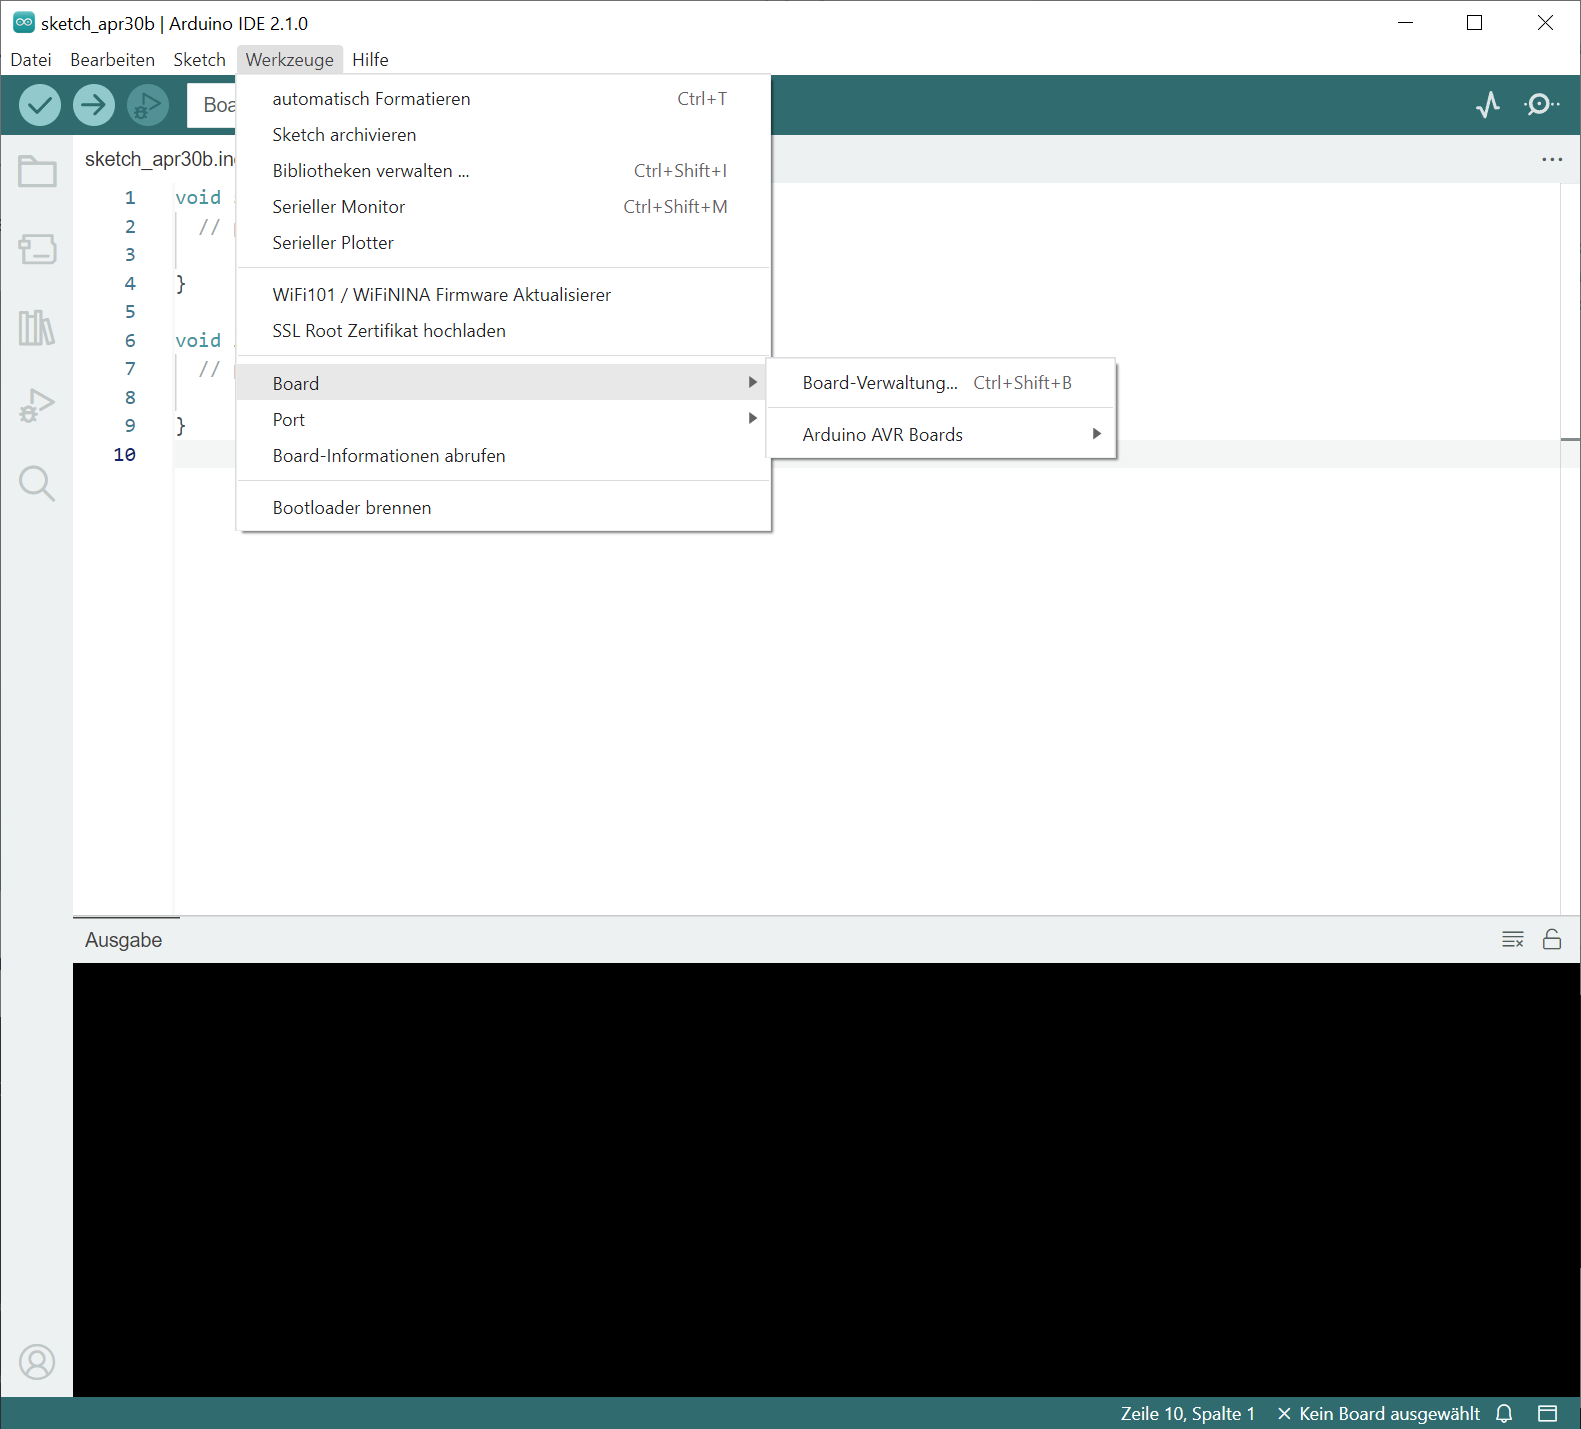
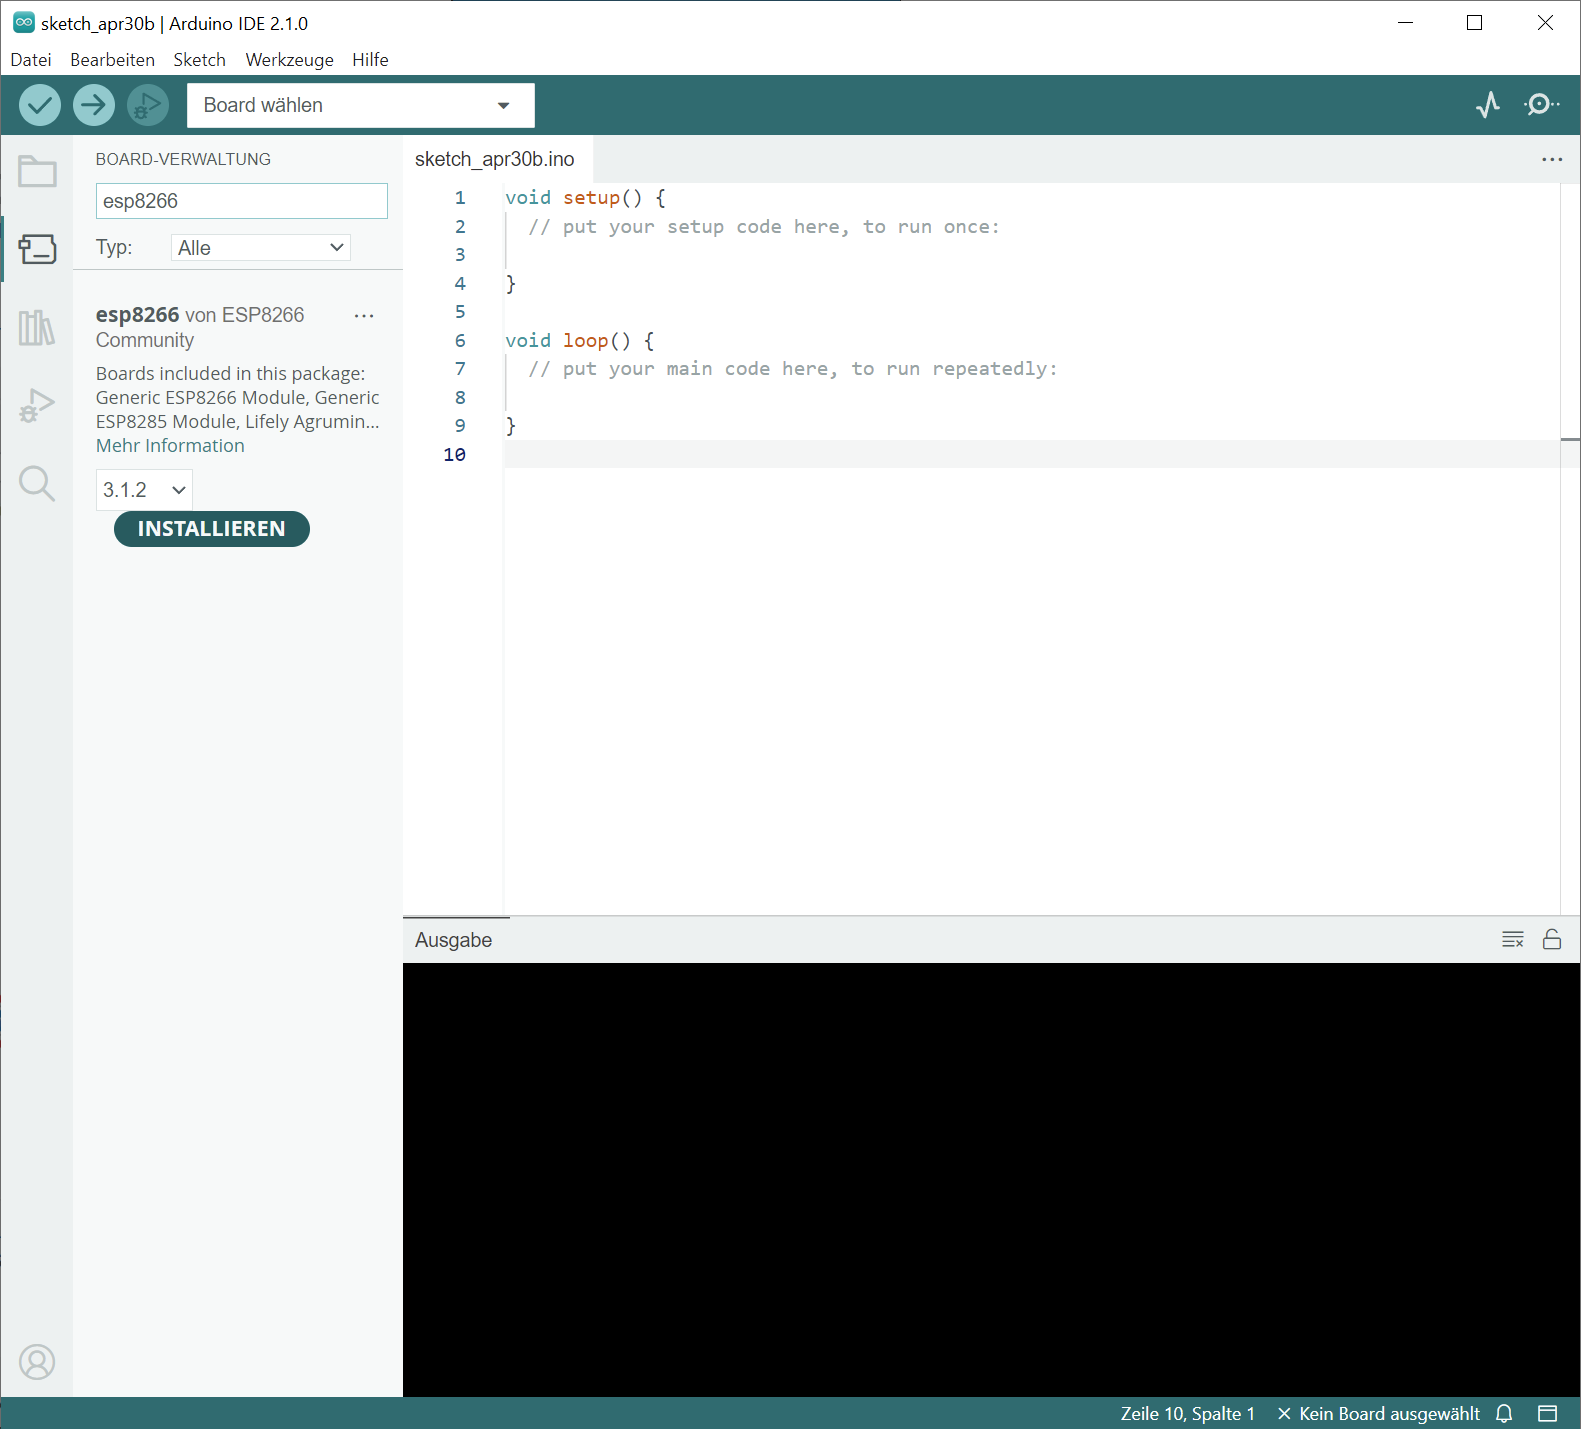
Enter “ESP8266” or “ESP32” in the search field and click on “Install” next to the correct search result.
For “ESP32,” you may see two search results. Choose the one that says “by Espressif.”
Great! You did it.
Board manager: Mac
Go to the menu bar of the Arduino IDE and click on “Tools”, then “Board”, and then “Board Manager”. The Board Manager dialog will open.
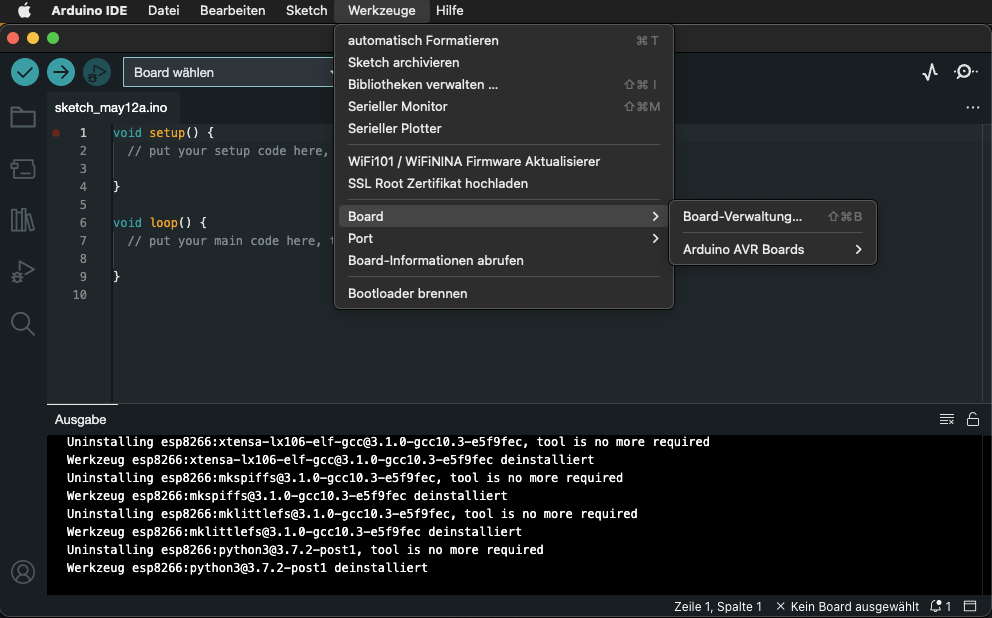
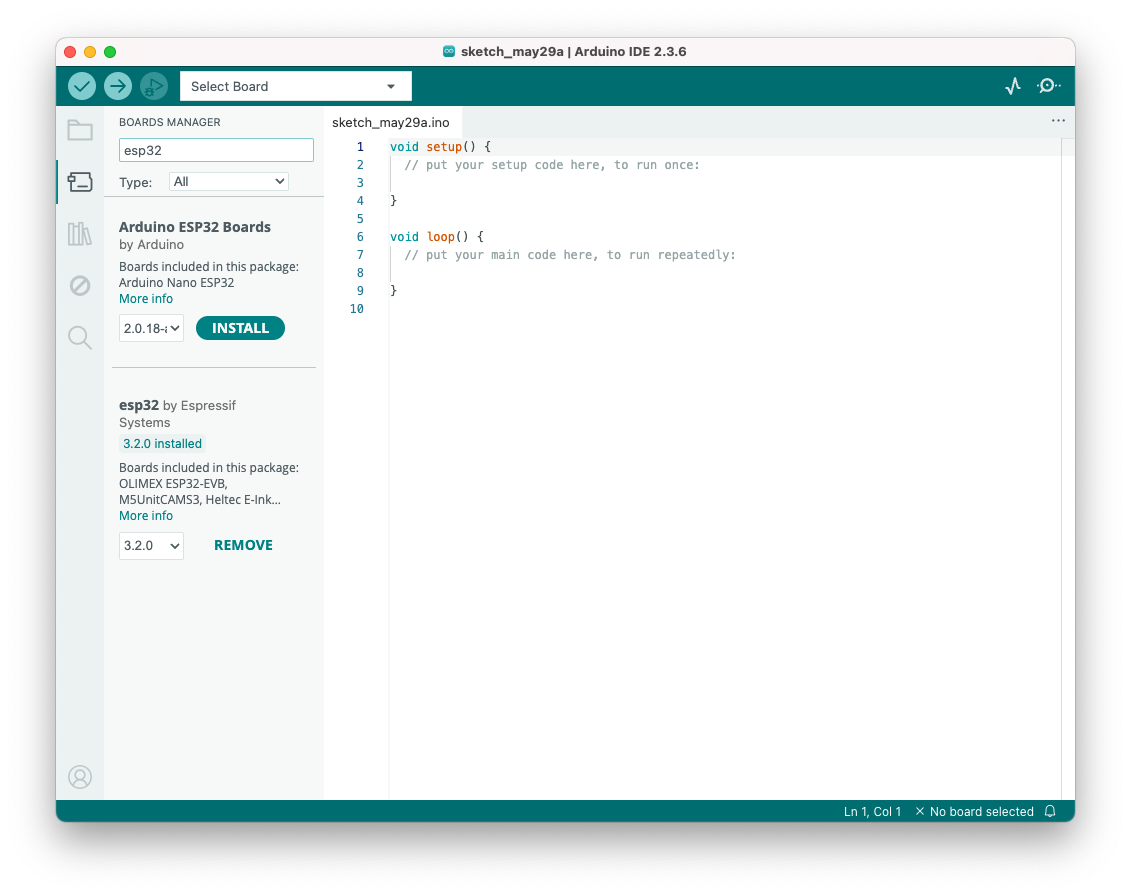
Enter “ESP8266” or “ESP32” in the search bar and click on “Install” next to the correct search result.
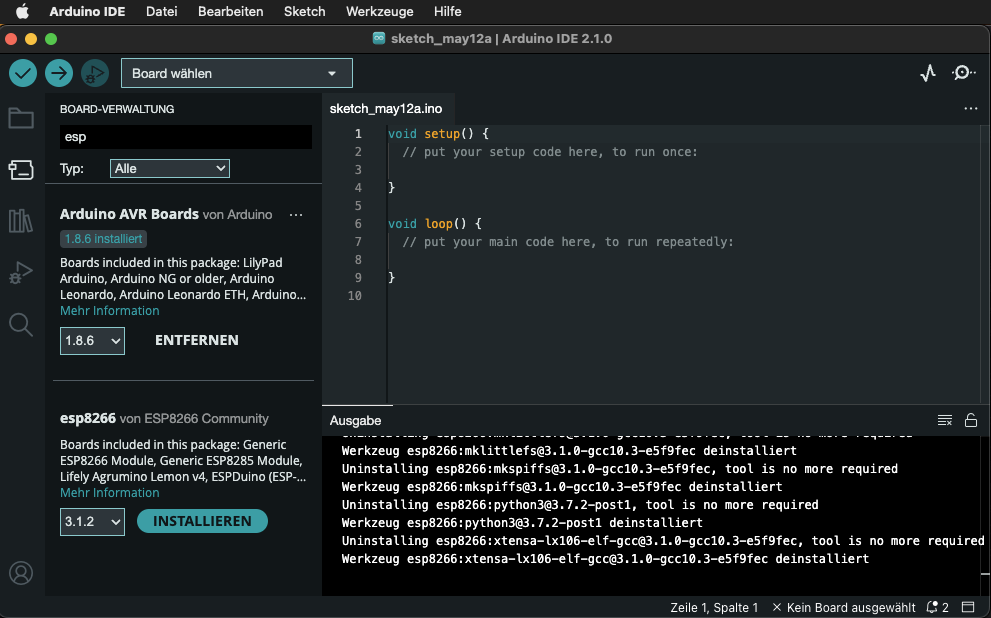
For “ESP32,” you may see two search results. Choose the one that says “by Espressif.”
Great! You did it.
Install driver: Windows 11 only
If you use Windows 11 you need to install an additional driver for the microcontroller. Download the driver installation file (CH341SER.EXE) from the manufacturer website and install by executing the file with the EXE ending.