

Action: Soil Moisture Sensor
Now that you know how to execute the program code and make an LED light up, let’s proceed to read the values from a sensor. We will use the soil moisture sensor for this purpose.
Usage
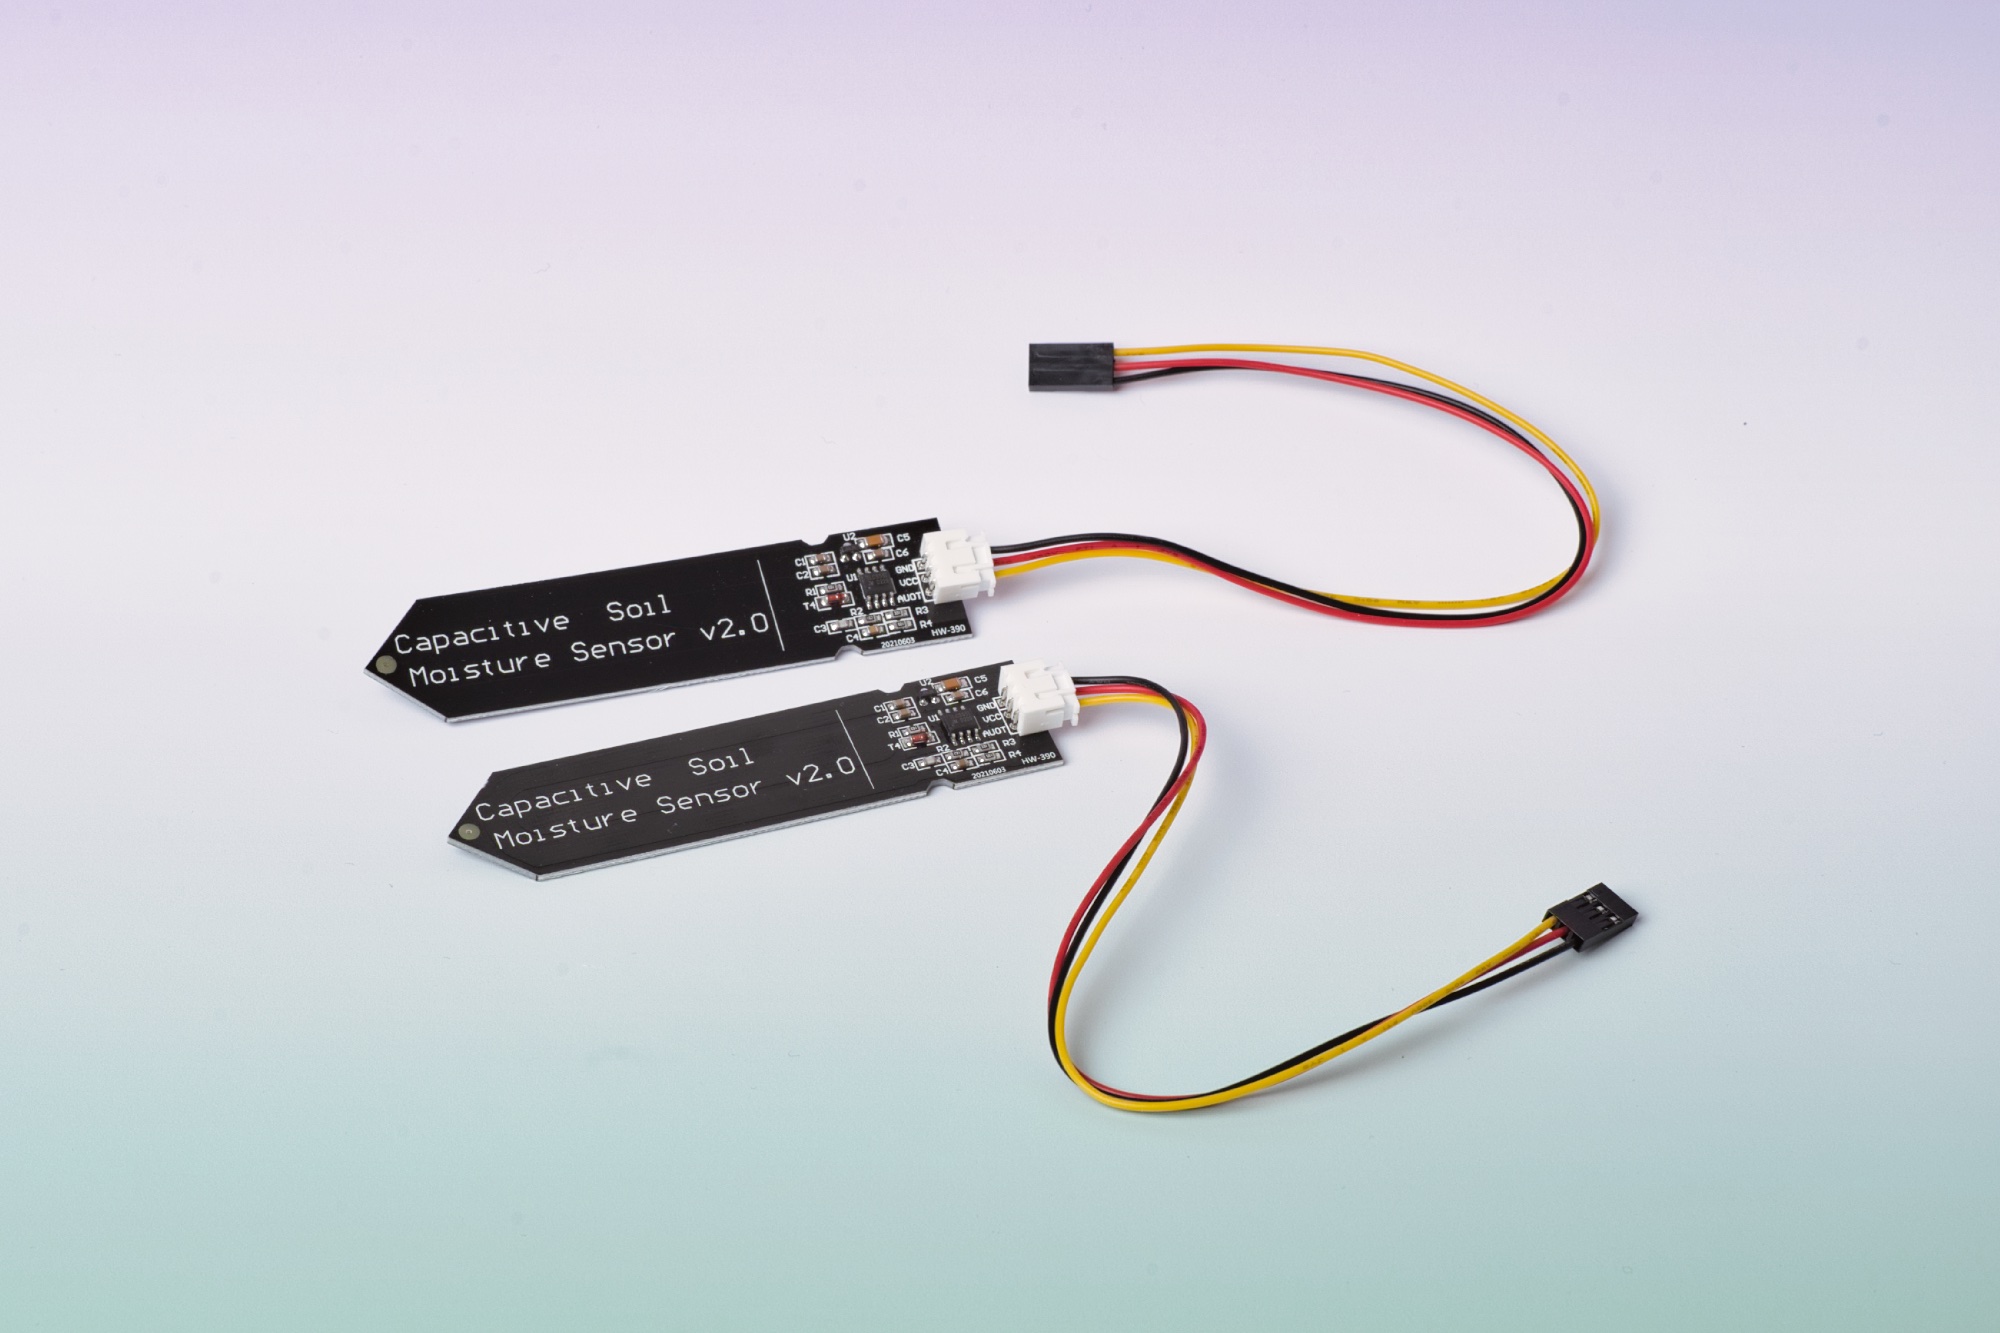
- The moisture sensor measures the electrical capacitance of the soil, indicating its moisture content.
- The sensor is corrosion-resistant, meaning it is less likely to rust or be damaged by chemical reactions.
Technical Specifications
- Operating Voltage: 5 V
- Output Voltage: 0 - 3 V
Wiring
The soil moisture sensor has three wires:
- Negative terminal (black wire)
- Positive terminal (red wire)
- Analog signal (yellow wire)
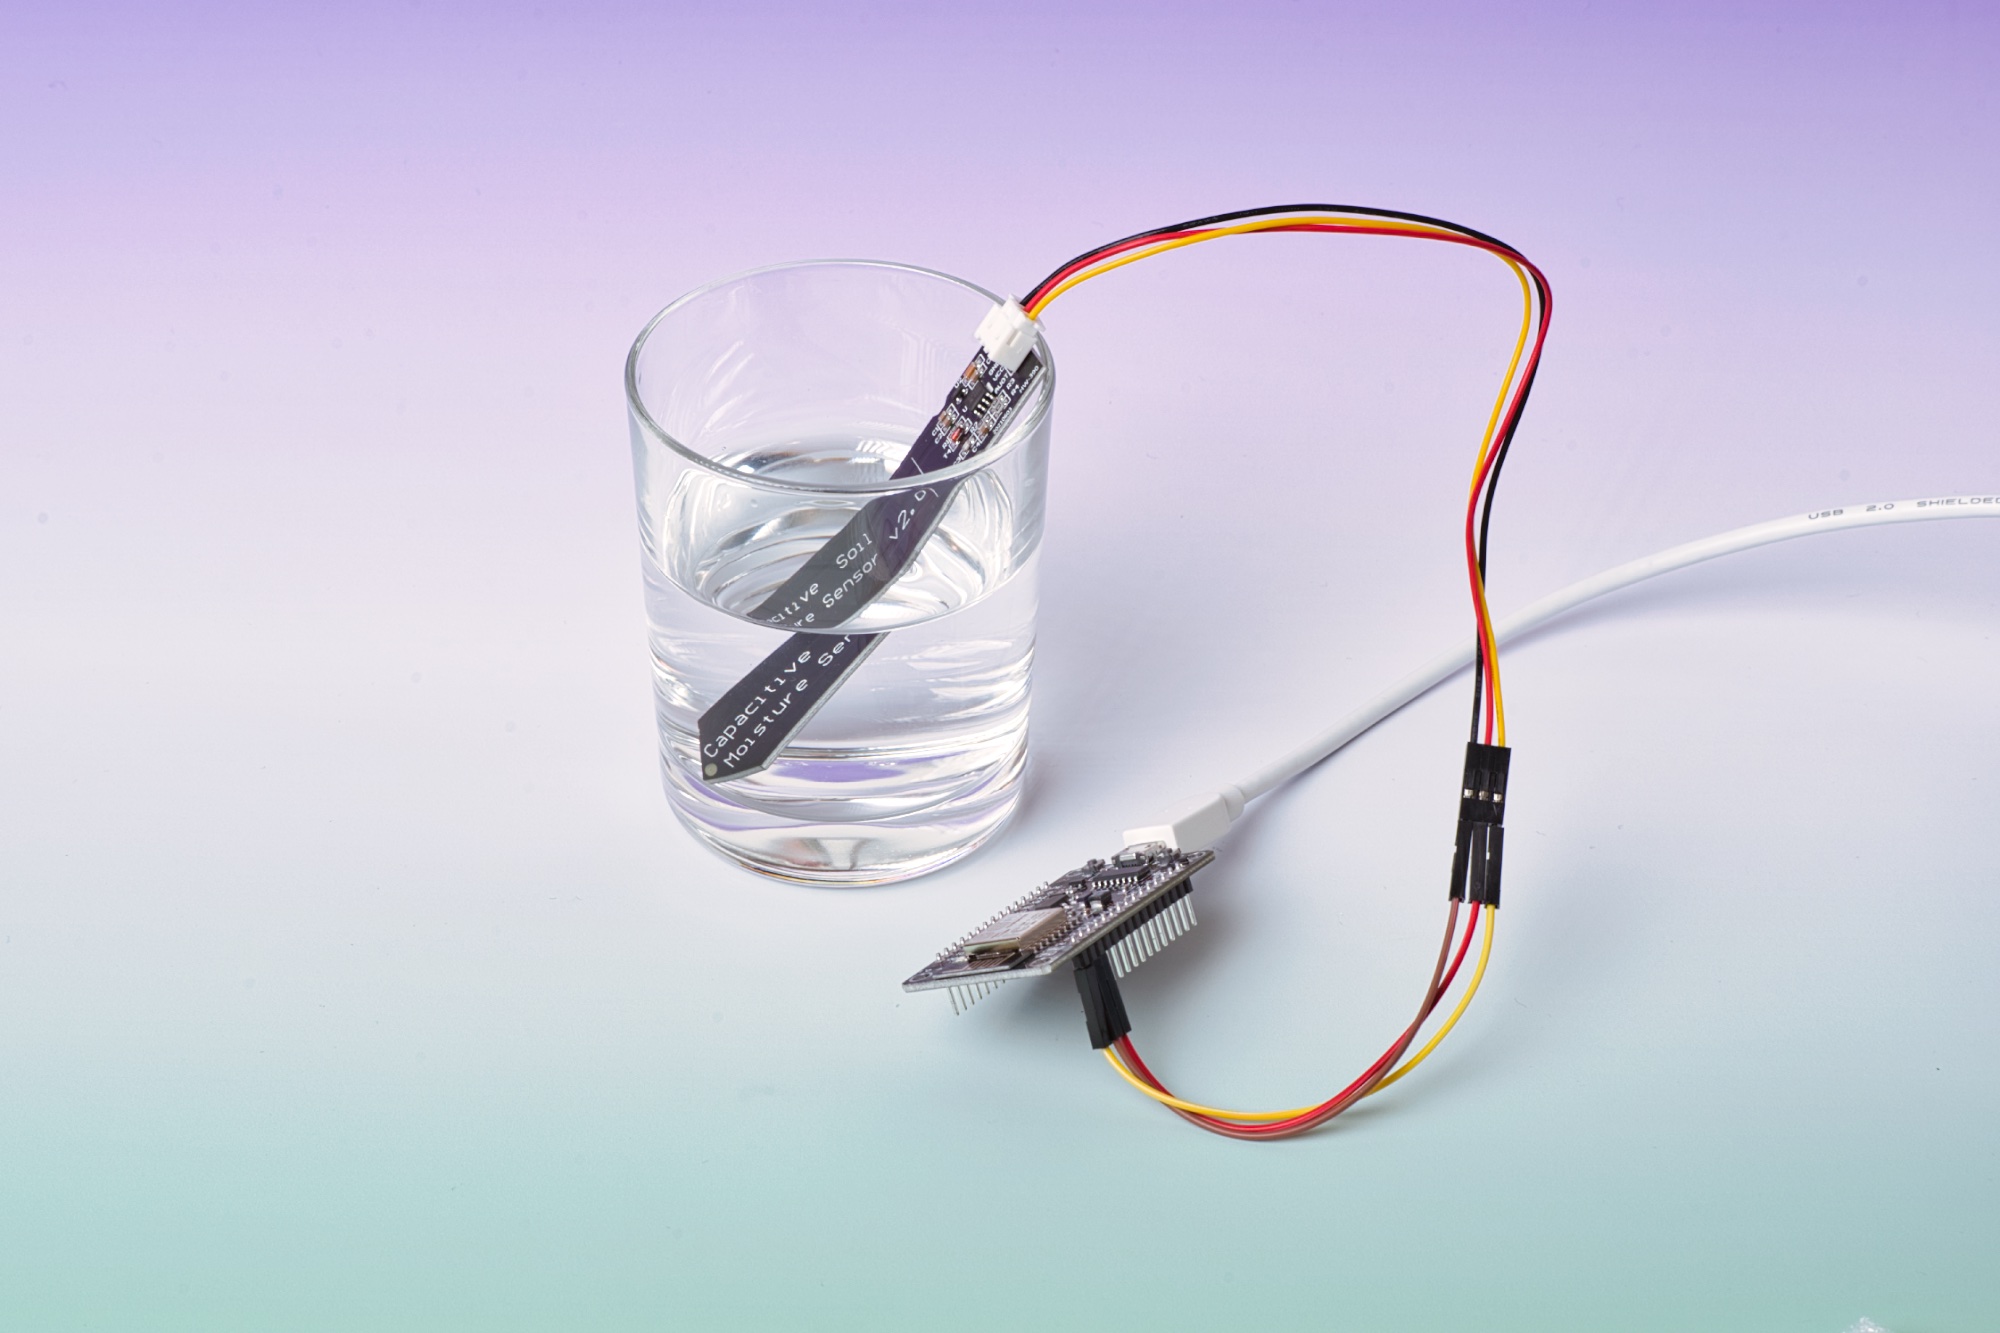
You will connect the wires to your microcontroller as follows:
- Make sure your microcontroller is disconnected from the USB power source before making changes to the circuit
- Connect the black wire (negative) of the sensor and to the G (Ground) pin on the microcontroller.
- Connect the red wire (positive) of the sensor and to the VV pin on the microcontroller.
- Connect the yellow wire of the sensor and to the A0 pin on the microcontroller.
ESP32 setup
- Make sure your microcontroller is disconnected from the USB power source before making changes to the circuit
- Connect the black wire (negative) of the sensor and to the GND (Ground) pin on the microcontroller.
- Connect the red wire (positive) of the sensor and to the 5V pin on the microcontroller.
- Connect the yellow wire of the sensor and to the G34 pin on the microcontroller.
Programming
Note: If you still have any code in the editor from a previous exercise, feel free to delete it
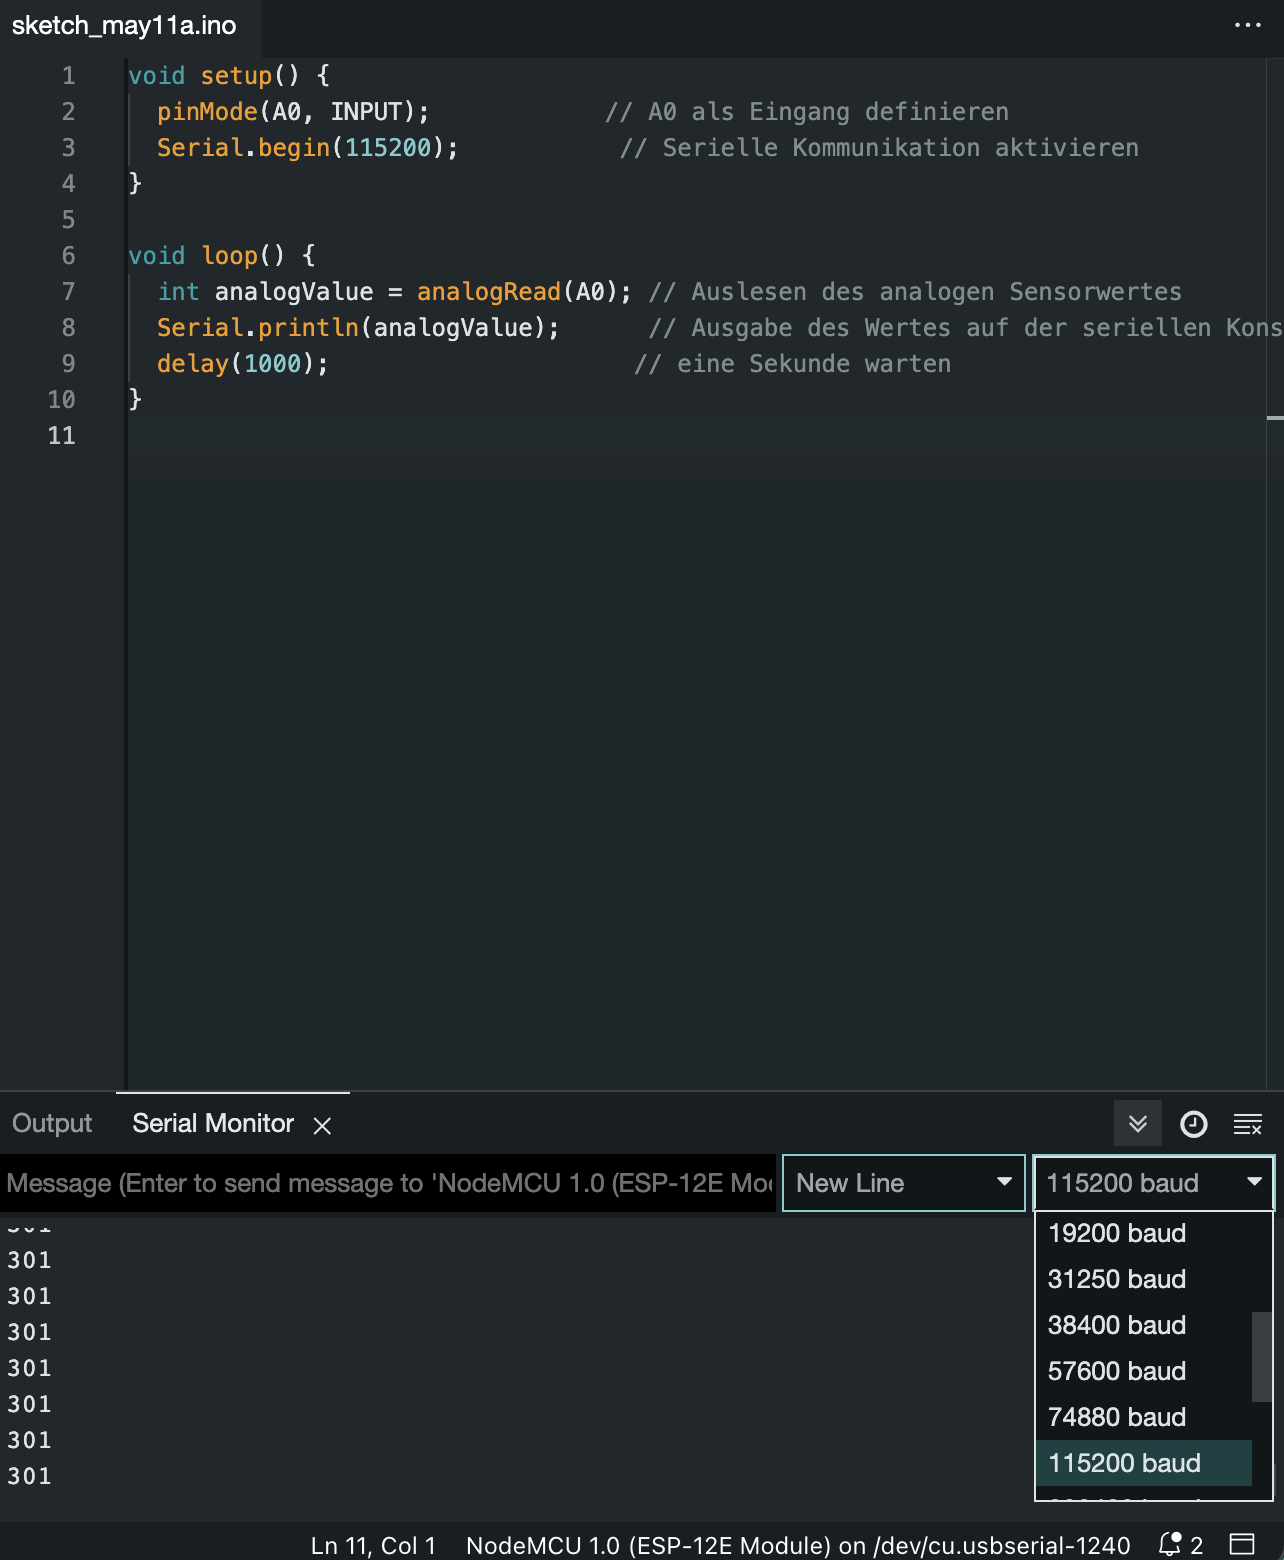
After setting up the circuit and connecting the microcontroller to the laptop, you now need to enter the corresponding code into the Arduino IDE to display the sensor data in the serial monitor:
void setup() {
  pinMode(A0, INPUT);	          // define pin A0 as an input
  Serial.begin(115200);           // enable serial communication
}

void loop() {
  int analogValue = analogRead(A0); // read the analog sensor value
  Serial.println(analogValue);      // output the sensor value on the serial console
  delay(1000);                      // wait a second
}
ESP32 code
Instead of A0, you need to use the pin number G34 for the ESP32 board.
void setup() {
  pinMode(34, INPUT);	          // A0 als Eingang definieren
  Serial.begin(115200);           // Serielle Kommunikation aktivieren
}

void loop() {
int analogValue = analogRead(34); // Auslesen des analogen Sensorwertes
Serial.println(analogValue); // Ausgabe des Wertes auf der seriellen Konsole
delay(1000); // Eine Sekunde warten
}
If you have copied the code, go through it line by line to understand what is happening. For a better understanding, it is always advisable to consult the documentation of the programming language. You can find it here.
Next, compile the code in the Arduino IDE and upload it to the microcontroller. Then, add the serial monitor to the IDE to read the measured values. To do this, go to “Tools” in the menu bar and select “Serial Monitor”. You can now read the measured values there.
Later, we will need a threshold value that determines when a plant is too dry. To determine this value, test your sensor with different moist soils to get a sense of the values. Take note of some values for dry and moist soil.
Note: If you don’t see any numbers in the “Serial Monitor”, you may need to make a setting in the “Serial Monitor” at the top right. Set the baud rate there as indicated in the code. Compile the code in the Arduino IDE and upload it to the microcontroller. Then, add the serial monitor in the IDE to read the measured values. To do this, go to “Tools” in the menu bar and select “Serial Monitor”. Now you can read the measured values there.
Short explanation: With “Serial.begin(115200)”, you pass the value 115200 to the speed parameter. This tells the microcontroller that it is ready to exchange messages with the serial monitor at a data rate of 115,200 bits per second. This means 115,200 binary ones or zeros per second and is commonly referred to as the baud rate.